Safety Instructions for Using a Handheld Sewing Machine
Always prioritize safety when using a handheld sewing machine. Keep fingers away from moving parts‚ especially the needle. Use the correct needle plate to prevent breakage. Avoid loose clothing that could get caught. Ensure the machine is off during threading or adjustments. Never touch the needle arm directly. Follow all manual guidelines to avoid injuries and ensure proper function.
- Keep fingers away from moving parts.
- Use the correct needle plate.
- Avoid loose clothing.
- Ensure the machine is off during adjustments.
1.1 General Safety Precautions
Before using a handheld sewing machine‚ ensure a safe environment. Always keep fingers away from moving parts and use the correct needle plate to prevent breakage; Avoid loose clothing or jewelry that could get caught. Keep the machine out of reach of children. Store it in a dry place‚ away from flammable materials. Ensure proper ventilation and avoid overloading the machine. Follow all instructions carefully to prevent accidents. Regularly inspect the machine for damage. Never operate it near water or in humid conditions. Always turn it off when not in use or during threading. Supervise children under 12 when using the machine. Proper handling and precautions will ensure safe and efficient sewing.
- Keep fingers away from moving parts.
- Use the correct needle plate.
- Store in a dry place.
- Supervise children under 12.
1.2 Specific Warnings to Avoid Injuries
Avoid touching the needle or moving parts while the machine is operational. Always ensure the machine is turned off before threading‚ adjusting‚ or replacing the needle. Never use damaged or bent needles‚ as they can break and cause injury. Keep the needle area clear of obstructions. Properly install the needle with the flat side facing forward to avoid misalignment. Do not pull or press on the needle arm‚ as this can damage the machine or lead to accidents. Avoid sewing near flammable materials or loose clothing. Ensure the machine is stable and secure during use. Follow these warnings to prevent injuries and maintain safe operation.
- Avoid touching the needle or moving parts.
- Turn off the machine before adjustments.
- Do not use damaged or bent needles.
- Keep loose clothing away from the machine.

Understanding Your Handheld Sewing Machine
Understanding your handheld sewing machine involves identifying its key components and features. Familiarize yourself with the needle‚ bobbin‚ and power switch for effective operation.
2.1 Key Parts and Components Identification
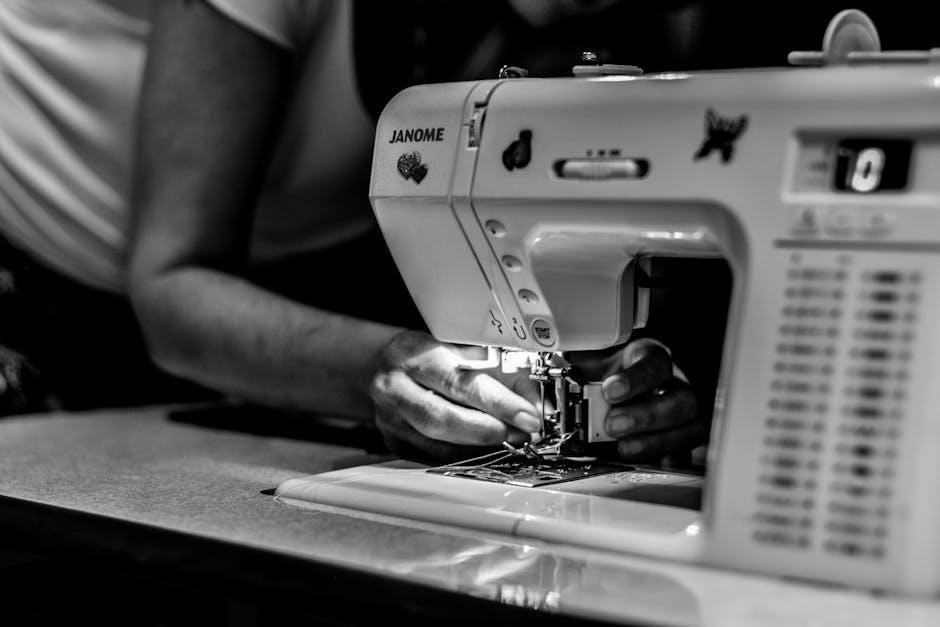
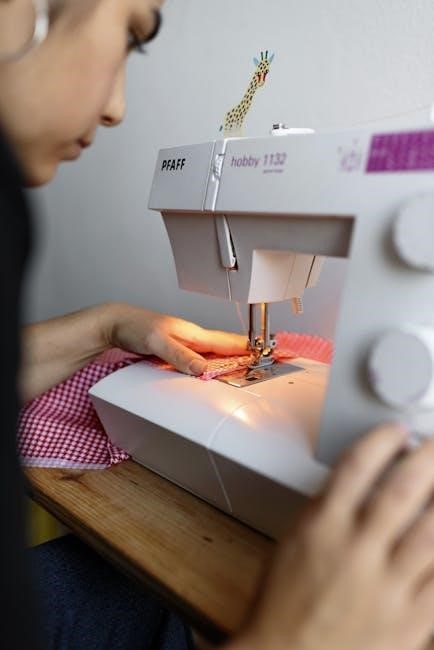
The handheld sewing machine features essential components designed for portability and ease of use. The primary parts include the needle‚ bobbin‚ spool pin‚ and power switch. The needle is responsible for stitching‚ while the bobbin holds the bottom thread. The spool pin secures the thread‚ and the power switch controls machine operation. Additionally‚ the mode selector switch allows toggling between handheld and desktop modes. Understanding these components ensures proper usage and maintenance. Familiarizing yourself with each part enhances your sewing experience and helps in troubleshooting common issues. Always refer to the manual for detailed diagrams and descriptions to identify each component accurately.
2.2 The Proper Way to Hold the Machine
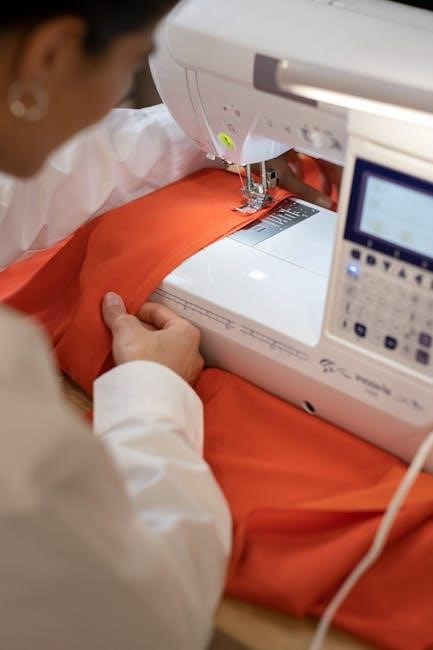
To ensure control and safety‚ hold the handheld sewing machine correctly. Grip the machine firmly with your right hand‚ placing your thumb on the power switch. Support the bottom with your other fingers. Use your left hand to guide the fabric‚ keeping it taut but not overly tight. Avoid touching the needle or moving parts with your free hand. Maintain a steady‚ upright position to prevent accidents. Secure loose clothing or long hair to avoid entanglement. This grip balances stability and maneuverability‚ allowing precise stitching. Proper handling enhances sewing accuracy and reduces fatigue during extended use.
Threading and Preparing the Machine
Start by raising the needle to its highest position. Thread the machine by guiding the thread through the tension discs and take-up lever. Cut excess thread after threading. Ensure the bobbin is properly wound and seated. Always use the correct needle type for your machine to avoid damage or breakage.
- Raise the needle to the highest position.
- Thread through tension discs and take-up lever.
- Cut excess thread after threading.
- Ensure proper bobbin preparation.
3.1 Step-by-Step Guide to Threading the Needle
To thread the needle on your handheld sewing machine‚ begin by ensuring the machine is turned off and the needle is in its highest position. Locate the spool pin and gently pull the thread through the tension discs‚ guiding it through the take-up lever. Pass the thread through the needle from front to back‚ leaving a few inches loose. Pull the thread gently to ensure it is securely seated. Avoid over-tightening‚ as this can cause thread breakage. Use a standard sewing machine needle‚ ensuring it is installed with the flat side facing forward. Keep the machine off during threading to prevent accidental operation. Proper threading ensures smooth stitching and prevents mechanical issues.
- Ensure the machine is off and needle is up.
- Guide thread through tension discs and take-up lever.
- Thread the needle from front to back.
- Use a standard sewing machine needle.
3.2 How to Prepare the Bobbin for Sewing
To prepare the bobbin for sewing‚ first‚ wind the thread around the bobbin by guiding it through the bobbin winder. Cut the excess thread‚ ensuring it is neatly secured. Place the bobbin into the bobbin case‚ making sure it is properly seated. Gently pull the thread to ensure it is not tangled or overly tight. Insert the bobbin into the machine according to the manufacturer’s guidelines‚ ensuring it is securely locked in place. Use a class 15 metal bobbin for optimal performance. Keep the machine off during this process to avoid accidental operation. Proper bobbin preparation ensures smooth stitching and prevents thread issues during sewing.
- Wind thread around the bobbin using the winder.
- Secure the thread and place the bobbin in its case.
- Gently pull the thread to ensure it is not tangled.
- Insert the bobbin into the machine securely.

Operating the Handheld Sewing Machine
Hold the machine firmly‚ operate the power switch with your thumb‚ and guide the fabric smoothly. Maintain control over the fabric’s movement for consistent stitching.
- Hold the machine firmly.
- Operate the power switch with your thumb.
- Guide the fabric smoothly.
4.1 Basic Sewing Steps in Handheld Mode
Start by ensuring the machine is unlocked and in handheld mode. Place the fabric under the needle‚ holding it firmly but gently. Use your thumb to operate the power switch‚ maintaining steady control. Guide the fabric smoothly in the desired direction‚ keeping the machine flat and stable. Ensure at least 2-4 inches of thread is pulled through the needle before sewing. Use your free hand to manage the fabric’s movement‚ maintaining a steady pace. Keep loose clothing tied back and work in a well-lit area for visibility. Always keep your fingers away from the needle and moving parts. Practice on scrap fabric first to ensure consistent stitching.
- Ensure the machine is unlocked and in handheld mode.
- Place the fabric under the needle and hold it firmly.
- Operate the power switch with your thumb.
- Guide the fabric smoothly and maintain steady control.
4.2 Switching to Desktop Mode for Stability
For more stability‚ switch the machine to desktop mode by moving the mode selector switch. Place the machine on a flat surface and secure it if needed. In desktop mode‚ the machine provides better control for intricate stitching. Begin sewing by pressing the power switch and guiding the fabric steadily. Use the built-in features like the extension table for larger projects. Ensure the needle is in the highest position before starting. Desktop mode offers continuous stitching without manual operation‚ enhancing precision and uniformity. Always keep your hands clear of moving parts and ensure the workspace is clean and well-lit for optimal results.
- Move the mode selector switch to desktop mode.
- Place the machine on a stable‚ flat surface.
- Start sewing by pressing the power switch.
- Guide the fabric smoothly for consistent stitching.
Maintenance and Troubleshooting
Regularly clean the machine to prevent dust buildup. Lubricate moving parts for smooth operation. Check thread tension and needle alignment. Inspect for loose screws or damaged needles. Troubleshoot issues like jammed threads or uneven stitching by consulting the manual or online guides.
- Clean the machine regularly.
- Lubricate moving parts.
- Check thread tension and needle alignment.
5.1 Routine Maintenance for Longevity
Regular maintenance ensures your handheld sewing machine operates efficiently and lasts longer. Clean the machine frequently to remove dust and debris‚ especially around the needle area. Use a soft brush or cloth to wipe down surfaces. Apply a few drops of sewing machine oil to moving parts to keep them well-lubricated. Check thread tension and needle alignment regularly to prevent uneven stitching. Inspect for loose screws or damaged needles and replace them as needed. Store the machine in a dry‚ cool place when not in use‚ and consider using a protective cover to prevent dust buildup.
- Clean the machine regularly with a soft brush or cloth.
- Apply sewing machine oil to moving parts.
- Check thread tension and needle alignment.
- Inspect for loose screws or damaged needles.
- Store in a dry‚ cool place with a protective cover.
5.2 Common Issues and Their Solutions
Common issues with handheld sewing machines can often be resolved with simple troubleshooting. If the thread tangles or the machine jams‚ gently remove the thread and restart. For needle breakage‚ ensure the needle is installed correctly with the flat side facing forward. Uneven stitches may result from incorrect thread tension; adjust the tension dial as needed. If the machine stops working‚ check the power source or batteries and ensure the mode selector is set correctly. For persistent issues‚ refer to the manual or contact customer support for assistance.
- Thread tangling: Remove thread and restart.
- Needle breakage: Install correctly with flat side forward;
- Uneven stitches: Adjust thread tension.
- Machine stops: Check power source and mode selector.
Additional Resources and Guides
Access downloadable PDF manuals‚ video tutorials‚ and troubleshooting guides online. These resources provide step-by-step instructions and tips for optimal use of your handheld sewing machine.
- Download the Instruction Manual PDF
- Watch Video Tutorials
- Troubleshooting Guide
6.1 Downloading the Instruction Manual PDF
Your handheld sewing machine instructions are readily available in PDF format. Visit the official website or trusted resource sites to find and download the manual. Ensure you search using the correct model number for accuracy. Once downloaded‚ the PDF provides comprehensive guides‚ troubleshooting tips‚ and detailed diagrams. It’s an essential resource for understanding machine operations‚ maintenance‚ and repair. Always refer to the official manual for authenticity and safety. For additional support‚ explore video tutorials and online forums dedicated to handheld sewing machines. These resources enhance your sewing experience and help you master various techniques efficiently.
6.2 Finding Video Tutorials and Tips Online
Enhance your handheld sewing machine skills by exploring video tutorials and online tips. Platforms like YouTube offer step-by-step guides for threading‚ operating‚ and troubleshooting. Search for specific models‚ such as the Magicfly Mini or Singer Stitch Sew Quick‚ to find relevant content. Online forums and sewing communities also provide valuable advice and tricks. Many brands offer official video guides on their websites. Additionally‚ blogs and crafting websites share tips for mastering handheld sewing techniques. These resources complement the instruction manual and help you overcome common challenges. By watching tutorials‚ you can gain confidence and improve your sewing results effectively.