
Converting a GE range to LP gas ensures compatibility with propane fuel, enhancing safety and efficiency. This guide provides step-by-step instructions for a successful conversion process using GE-approved kits.
Overview of LP Conversion Kits
LP conversion kits are essential for adapting GE ranges to use propane, ensuring safety and efficiency. Each kit includes orifices, pressure regulators, and detailed instructions for proper installation. These components optimize burner performance and maintain appliance efficiency. Using genuine GE parts guarantees compatibility and reliable functioning. Always follow the provided instructions carefully to ensure a successful conversion and maintain safety standards. Proper installation is crucial for optimal performance and to prevent potential hazards.
Importance of Proper Conversion
Properly converting a GE range to LP gas is critical for safety, efficiency, and performance. Incorrect conversion can lead to gas leaks, uneven flames, or appliance damage. Ensuring all components, such as orifices and regulators, are correctly installed guarantees optimal burner function and prevents potential hazards. Following manufacturer guidelines minimizes risks and ensures compliance with safety standards. A well-executed conversion maintains appliance efficiency and prolongs its lifespan, while improper methods can void warranties or pose serious safety risks, including fire hazards or carbon monoxide exposure.
Necessary Tools and Materials
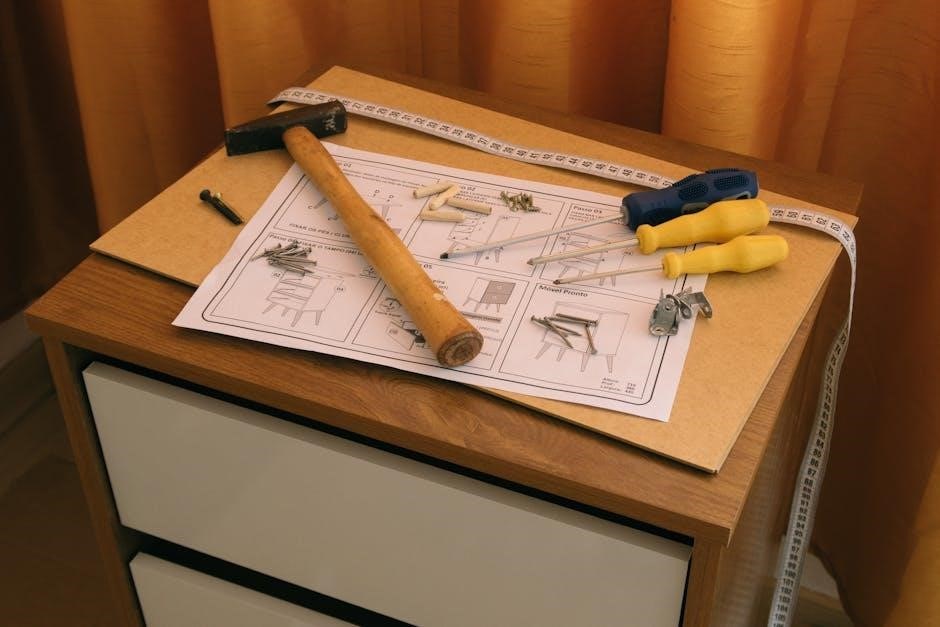
Essential tools include an adjustable wrench, 1/2″ open-end wrench, Phillips and flat-blade screwdrivers, and 1/4″ or 9/32″ nut drivers. The LP conversion kit provides specific orifices and regulators.
Tools Required for Conversion
The tools needed for a successful GE range LP conversion include an adjustable wrench, 1/2″ open-end wrench, Phillips head screwdriver, and flat-blade screwdriver. Additionally, 1/4″ or 9/32″ nut drivers are essential for removing burner components. A socket wrench with a 9/32″ socket is recommended for accessing the pressure regulator. Ensure all tools are readily available to streamline the process and avoid delays. Proper tools are critical for safely and accurately completing the conversion to LP gas.
Materials Included in the Kit
The LP conversion kit for your GE range includes burner orifices, burner caps, and pressure regulator components. These parts are specifically designed for propane compatibility. Additionally, the kit provides a conversion label to update your range’s specifications. Detailed instructions are also included to guide you through the process safely and effectively. Ensure all components are used as directed to maintain optimal performance and safety standards after conversion.
Preparation Steps
Before starting, shut off gas and electrical supply to ensure safety. Remove grates, caps, and heads for access. Gather tools like wrenches and screwdrivers for the conversion process.
Shutting Off Gas and Electrical Supply
Before starting the conversion, ensure safety by shutting off the gas supply valve, typically located near the gas line connection. Turn it clockwise to close. Next, disconnect the electrical power at the main circuit breaker or fuse box. Verify that the range is unplugged to prevent any accidental start-ups. Use a gas leak detector or soapy water to check for leaks after shutting off the gas. Ensure the area is well-ventilated to avoid any gas fumes. Double-check that all power sources are off before proceeding with disassembly or adjustments.
Removing Components for Access
Begin by removing the top grates, burner caps, and burner heads to access the internal components. Use a screwdriver or wrench to carefully detach these parts. For deeper access, you may need to remove the burner assembly or lift the cooktop slightly. Ensure all components are set aside safely to avoid damage. This step is crucial for accessing the orifices and pressure regulator, which are essential for the conversion process. Handle all parts with care to prevent scratching or bending.
Converting the Cooktop Burners
Convert cooktop burners by replacing natural gas orifices with LP-specific ones from the conversion kit. Remove grates, caps, and heads for access, then swap orifices using a 7mm or 9/32 nut driver;
Replacing Burner Orifices
To replace burner orifices, start by shutting off the gas supply and removing the grates, caps, and heads. Use a 7mm or 9/32 nut driver to remove the natural gas orifices. Install the LP orifices from the conversion kit, ensuring they are securely tightened. Replace all components and check for leaks before restoring gas supply and testing the burners.
Adjusting Burner Caps and Heads
After replacing the burner orifices, reinstall the burner caps and heads. Ensure they are properly aligned and seated to maintain even flame distribution. Gently tighten the components using a wrench to avoid stripping the threads. Adjust the burner caps to ensure they are level and securely fastened. Proper alignment is crucial for consistent flame output and safety. Once adjusted, test the burners to confirm even flame patterns and make further adjustments if necessary.
Converting the Oven
Install the LP orifice from the conversion kit to ensure proper combustion with propane. Adjust the oven burner settings to achieve the correct flame characteristics for efficient operation.
Installing the LP Orifice
Remove the natural gas orifice using a 7mm or 9/32 nut driver. Replace it with the LP orifice from the conversion kit, ensuring it is securely tightened.
Make sure the LP orifice is correctly positioned and aligned with the burner port. Refer to the kit instructions for specific torque specifications.
Once installed, verify the orifice is labeled with an “L” to confirm it is designed for LP gas. This step is critical for proper combustion and safety.
Adjusting Oven Burner Settings
After installing the LP orifice, adjust the oven burner settings to ensure proper combustion. Turn the adjustment screw located near the burner orifice clockwise or counterclockwise to achieve a steady, blue flame. Use an Allen wrench or screwdriver as specified in the kit instructions. Test the flame by lighting the burner and observing its color and stability. If the flame appears yellow or flickers, further adjustment may be necessary. Always refer to the conversion kit manual for specific guidance. Safety precautions, such as ensuring the area is well-ventilated and using a gas detector, are crucial during this process. Once adjusted, run the oven through a cycle to confirm consistent heating and check for any leaks using a gas leak detector. If unsure, consider consulting a professional to ensure safe and correct adjustments.

Adjusting the Pressure Regulator
Adjust the pressure regulator to ensure proper LP gas flow. Locate the regulator, turn the adjustment screw with a wrench, and test the flame for stability.
Locating and Accessing the Regulator
To locate the pressure regulator on your GE range, check behind the lower back panel or near the gas inlet. Turn off the gas supply and disconnect power for safety. Remove screws to access the panel, then gently pull it away to expose the regulator. Use an adjustable wrench or screwdriver to adjust the regulator. Ensure the regulator is set correctly for LP gas, as specified in your conversion kit instructions. Always refer to your manual for exact locations and procedures.
Setting the Correct Pressure
Once the regulator is accessed, use an adjustable wrench to adjust the spring or set screw according to the LP conversion kit instructions. Turn the screw clockwise to increase pressure or counterclockwise to decrease it. After adjustment, leak-test the connections using soapy water. Ensure the pressure matches the specifications in your kit manual. Proper pressure setting is crucial for safe and efficient gas flow. Avoid over-tightening to prevent damage to the regulator or gas lines.

Testing and Safety Checks
After conversion, test all burners to ensure proper flame consistency. Check for gas leaks using soapy water and verify pressure regulator functionality. Ensure all safety protocols are followed.
Testing Burner Functionality
After completing the LP conversion, ignite each burner to verify proper functionality. Ensure flames are blue and even, with no yellow tipping. Check for consistent ignition across all burners.
Inspect the oven burner flame for similar characteristics. Test low and high flame settings to confirm precise gas flow control. Use soapy water to detect any gas leaks around connections.
If issues arise, refer to the troubleshooting section for guidance. Proper burner functionality ensures safe and efficient cooking performance.
Ensuring Gas Safety
After conversion, ensure all gas connections are secure to prevent leaks. Turn off the main gas supply and test connections using soapy water—bubbles indicate leaks.
Verify proper ventilation in the kitchen to avoid gas buildup. Always follow GE’s safety guidelines and local regulations for LP gas use.
Regularly inspect hoses and connections for wear. Annual professional inspections are recommended to maintain safety standards. Use only GE-approved conversion kits for compliance and reliability;

Troubleshooting Common Issues
Common issues include gas leaks, uneven flames, or burner malfunction. Check connections for tightness, clean burners, and ensure correct orifice installation. Verify regulator settings for proper pressure.
Identifying and Resolving Leaks
To identify leaks, apply soapy water or a gas leak detector to connections. Bubbles indicate leaks. Tighten loose fittings with an adjustable wrench. If leaks persist, replace worn-out gaskets or seals. Ensure all connections are secure after conversion. Always shut off gas supply before inspecting or repairing. Electrical power should also be disconnected for safety. Refer to the kit’s instructions for specific guidance on addressing leaks during or after the LP conversion process.
Addressing Uneven Flame Patterns
Uneven flame patterns may occur after conversion. Check if burner orifices are correctly installed and aligned. Ensure burner caps are properly seated and clean. If issues persist, verify that the correct orifice size from the LP conversion kit is used. Refer to the kit’s instructions for guidance. Clean burner ports with a small brush or pin to remove debris. Adjust burner caps to ensure proper flame distribution. Consult the manual for specific adjustments to achieve consistent, even flames across all burners.
Converting your GE range to LP gas is straightforward with proper tools and adherence to safety guidelines. Ensure all steps are followed for efficient and safe operation.
Final Checks and Maintenance Tips
After completing the LP conversion, ensure all burners and the oven function properly. Test flame consistency and adjust as needed. Inspect gas lines for leaks using soapy water. Regularly clean burner caps and orifices to maintain performance. Schedule annual professional inspections for safety. Keep the conversion kit instructions and maintenance records for future reference. Proper upkeep ensures long-term efficiency and safety of your GE range when using propane gas.
Documenting the Conversion Process
After completing the LP conversion, document all steps taken, including regulator settings and orifice replacements. Record the model number, kit used, and any adjustments made for future reference. Take photos or videos of key modifications for clarity. Maintain a log of inspections, maintenance, and repairs to ensure compliance with safety standards. Keep the conversion kit instructions and a record of the process with your appliance’s manual for easy access during future servicing or audits.